High Dynamic Range Digital Photography
© Brooke Clarke 2009Background
When a single exposure is made
using
either a film or digital camera there is some limit to the
range of
brightness that can be captured in a single exposure. At
some
point the film is either clear or black or in the case of a
digital
camera the data is either zero or all ones. There are
various
ways of dealing with this problem.
|
NOTE
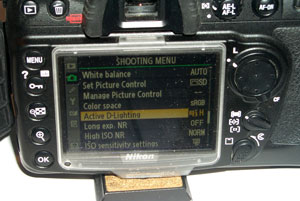
HDR is a natural consequence of using RAW files instead of the .jpg files which by definition have 8 bits/color channel. So rather than use stacking or in camera HDR methods I now just shoot everything with the Nikon D300s set to RAW (Nikon NEF) output and have also set 14 bits per color channel and the use of Adobe RGB instead of Standard RGB color space. |
Zone System
The Zone System was developed by Ansel Adams (Gallery, Store) (Wiki) and published as Zone System Manual by Minor White (Amazon). By doing experiments relating to exposing and developing the negative you can determine the "speed" of the film. Then doing more experiments you can learn how to expose and develop a print. By using a spot light meter to read the darkest location where shadow detail is desired the exposure can be determined. Once the film has been exposed it's a mechanical process to develop the film, expose the print and develop the print (i.e. there is no experimentation in the dark room). But the dynamic range limit is built into the film and paper being used.Photoshop High Dynamic Range Application
It's only been in the last few years that Adobe has added High Dynamic Range as an application to Photoshop starting with the CS3 release. Note this is not something you do with images that have already been loaded into Photoshop but instead is an application or script that is run from the file menu. It takes a number of separate images that have all been taken with the same f stop and focus settings (i.e. a tripod shot) and stacks them making a single 32 bit deep image. Typically three images are used: 1) that has highlight detail and black where the mid tones will be, 2) mid tones are correct but the highlights are blown out and the shadows are black, 3) shadow detail but mid and high tones are blown out. When these are combined there can be detail in all three areas greatly extending the dynamic range.-4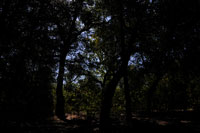 |
-3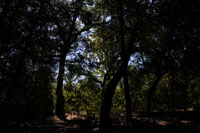 |
-2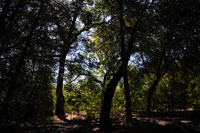 |
-1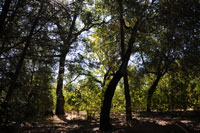 |
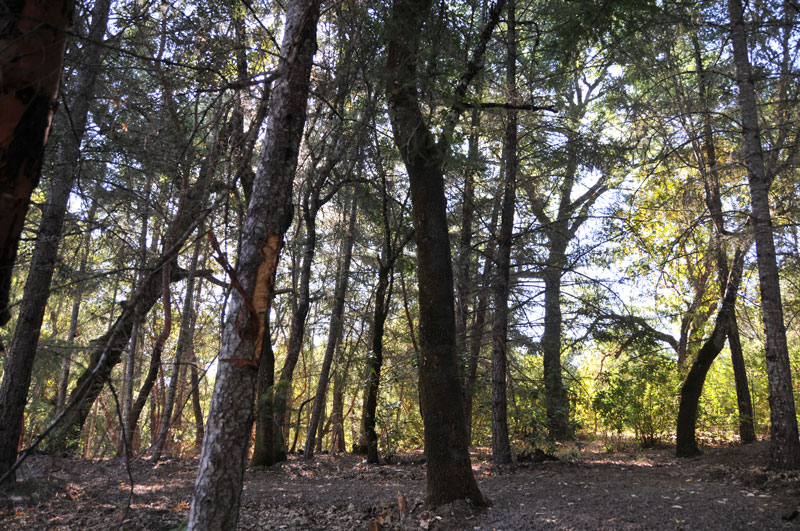
Normal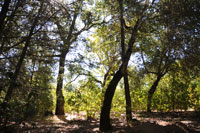 |
+1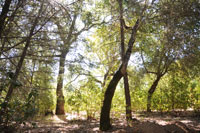 |
+2 |
+3 |
+4 |
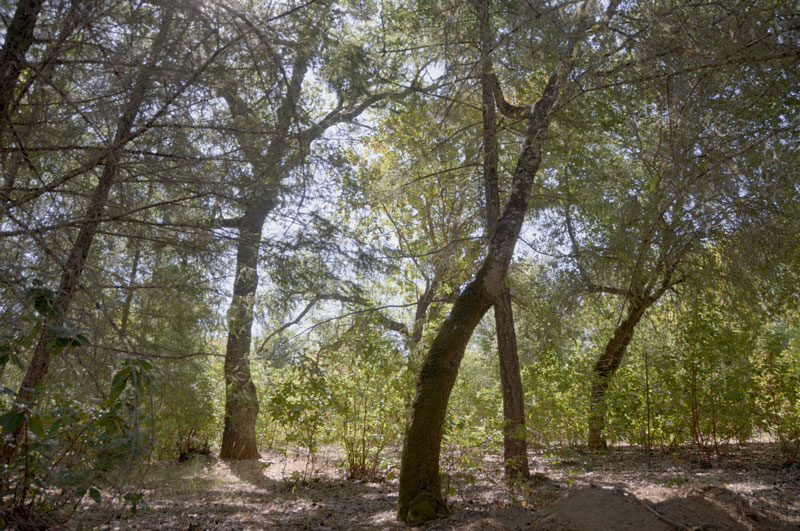
You can see that none of the single exposure images have detail in the shadows and mid tones and highlights. The key to using the Photoshop HDR process is in picking the three shots. The "Normal" shot has some of the sky burned out and the foreground tree has no shadow detail. The -2 and +2 shots have the needed detail, but the -3, -4, +3 and +4 shots are too far to be used. So instead of taking 9 shots spaced by 1 f stop it would have been better to use 1/2 f stop. I don't have an example HDR image because I used images that were too under and over exposed making for a poor result.