Installation
Paper Handling
Printing on Fabric
Related
Links
Background
In the past I had an HP color printer, but the cost of replacement ink+print head cartridges was so high considering that if you didn't use it every day they dried out I gave it away and haven't bothered with a color printer since. Hopefully this one will be better. It uses Black, Gray & Light Gray ink as well as 5 color inks and is intended to make photo quality prints.
Canon (or B&H Photo?) had a special offer so the final price (after mail-in rebate) for this printer was under $100 including a set of starter ink cartridges. One story is that it was offered in a promotion along with a Canon camera, but they didn't sell enough of the printers so another bundle of the printer and some Canon photo quality paper was added to the mix. But a full set of 8 ink cartridges (Bk, Gy, LGy, C, PC, M, PM & Y) is about $135. Unlike the HP color printers where the print head is part of the ink making it very expensive to replace both of them, in this printer the print head is a separate part from the inks. Note the printer will handle papers from 4x6" up to 13x19".
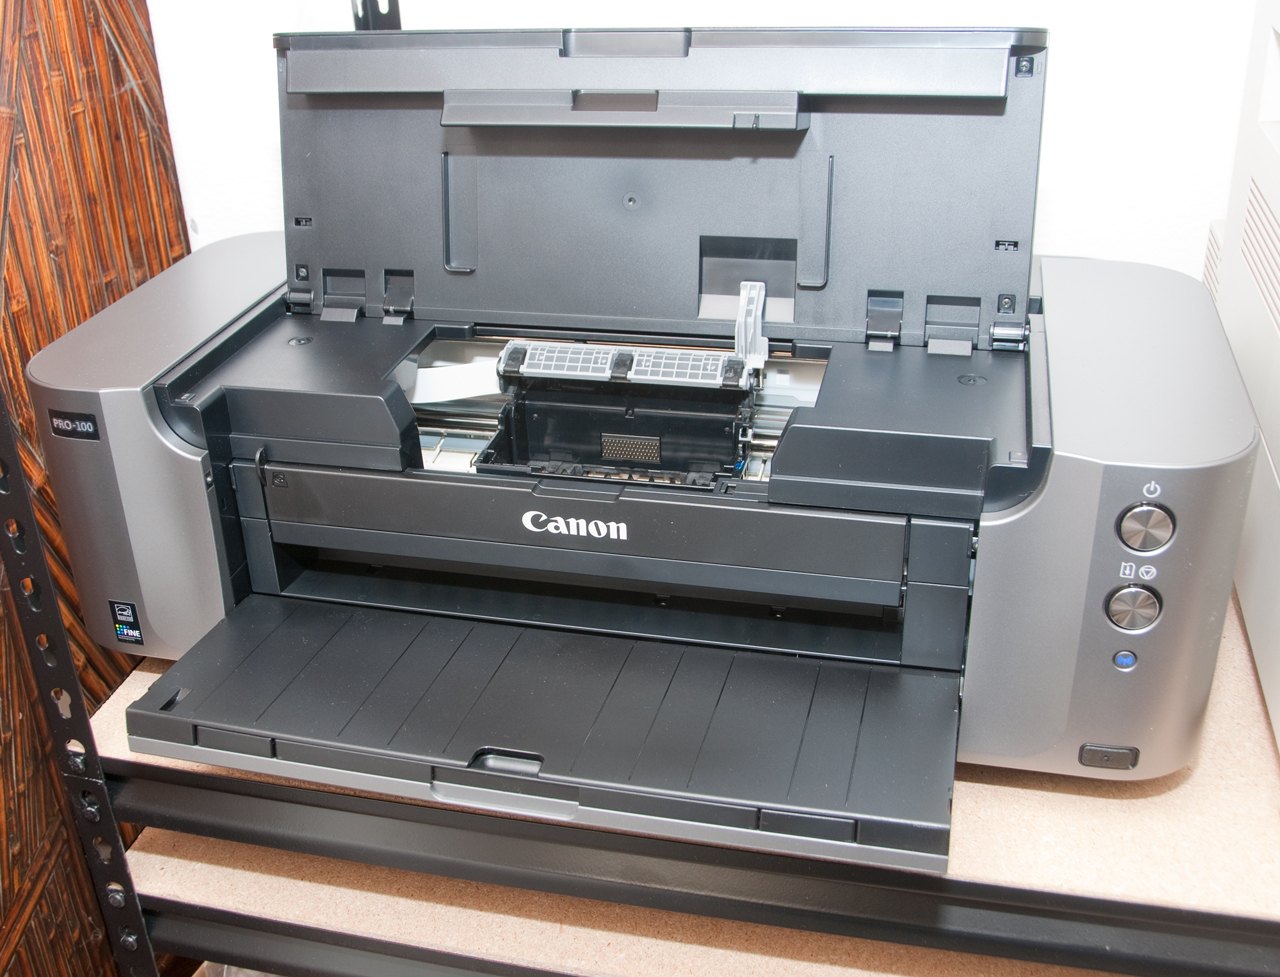
As part of the mail-in rebate I needed the printer serial number (it turns out that it's printed on a sticker on the outside of the box). But it also is printed inside the printer, but to see it you need to power up the printer and open the top cover. After the power up dance the print carriage moves to the center and then you can see the serial number label just to the right of the print head carrier on the base plate.
The printer supports USB, wired LAN and wireless LAN. The setup for the wireless LAN requires a USB connection between each computer and the printer and the installation of some Canon software.
Note: The installation software makes this printer you default printer in all the applications it can find. This is a BIG MISTAKE because it's a photo printer, not an everyday printer. Since I don't have any paper loaded in the printer it just generates an error message, but the printer does a dance and may waist ink.
Installation
In the box was the printer, a box of 50 sheets of 13"x19" photo paper (SG-201) and a package of 5 sheets of 8.5x11" Luster paper (LU-201), the print head, 8 ink cartridges, a couple of CD-ROMs (Windows & Mac versions) and large sheet installation instructions.
The steps to bring the printer on line are:
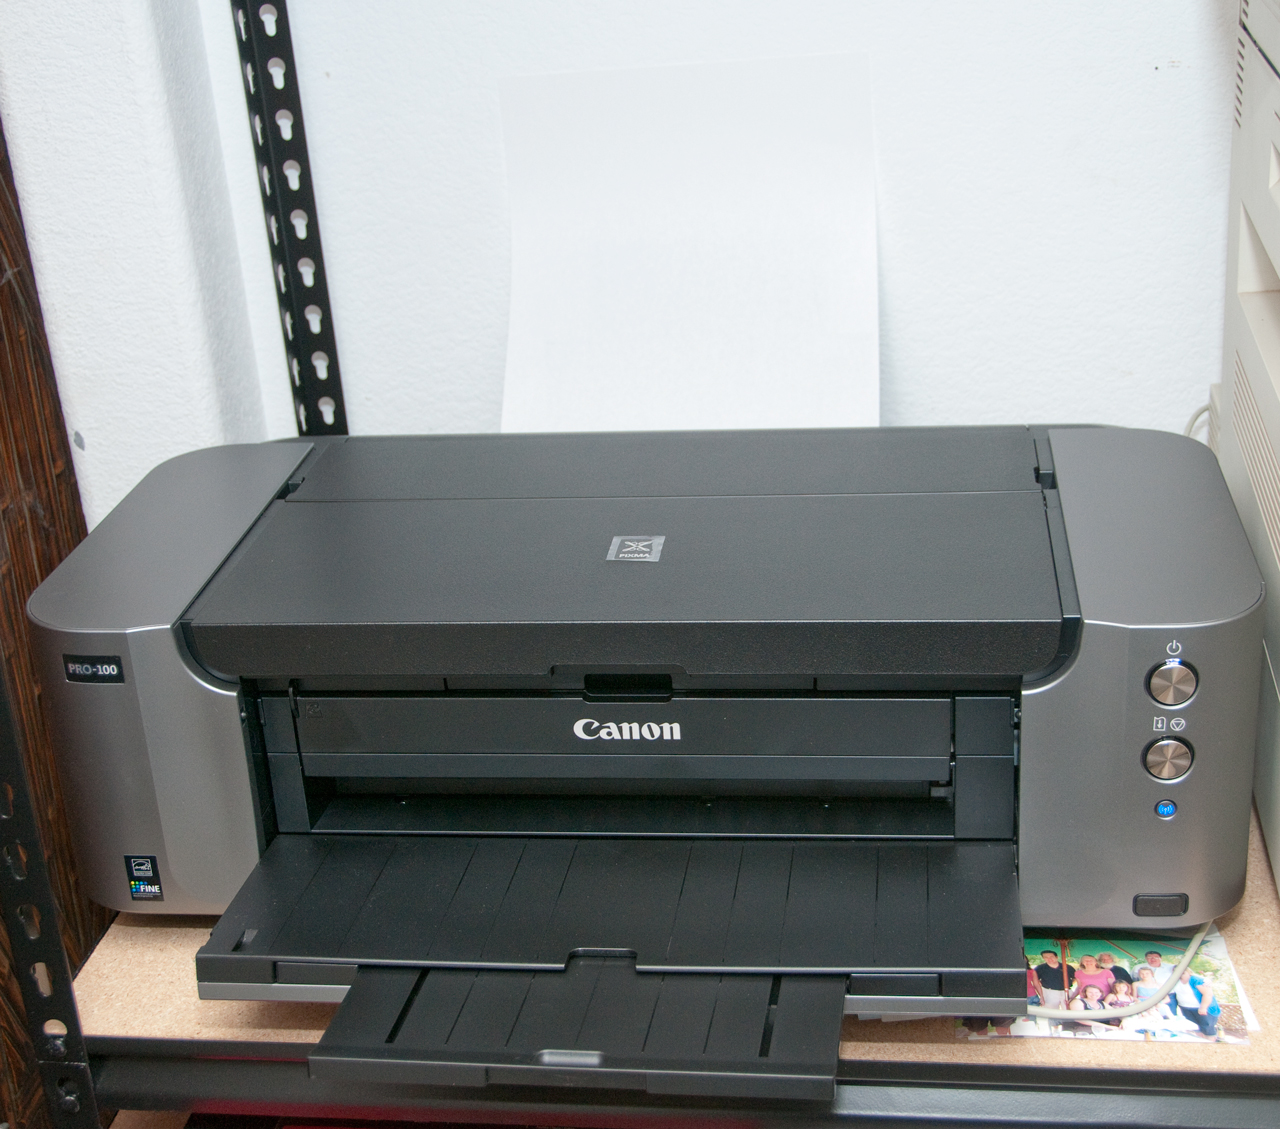
Fig 1 Mounted on 2'x4' industrial shelving
Note: Gray print lever is in the up position.
next to an IBM 11"x17" laser Network Printer 24
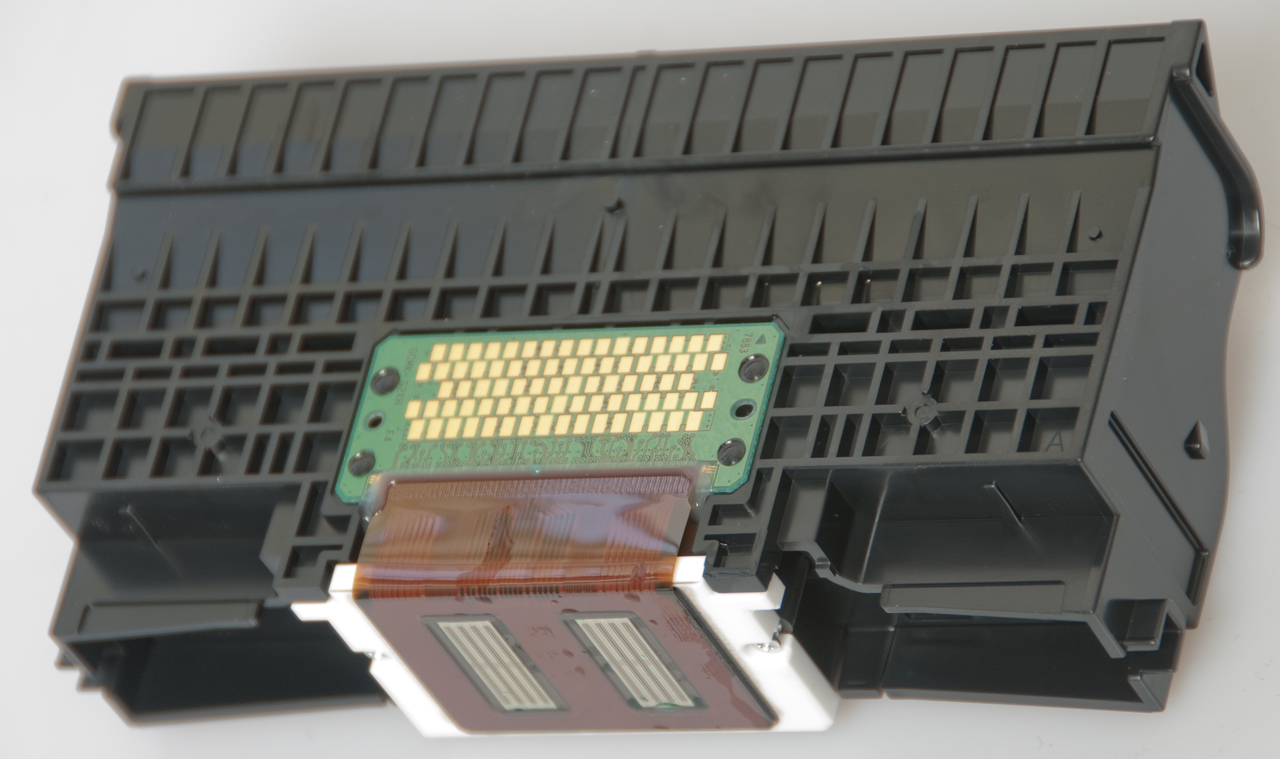
Fig 2 This is the bottom of the print head.
The top holds the ink cartridges.
Fig 3 Print head installed w/ gray print lever in down position
and the first ink cartridge installed. Note light illuminating ink cartridge.
Fig 4 All ink cartridges installed and all with lights on.
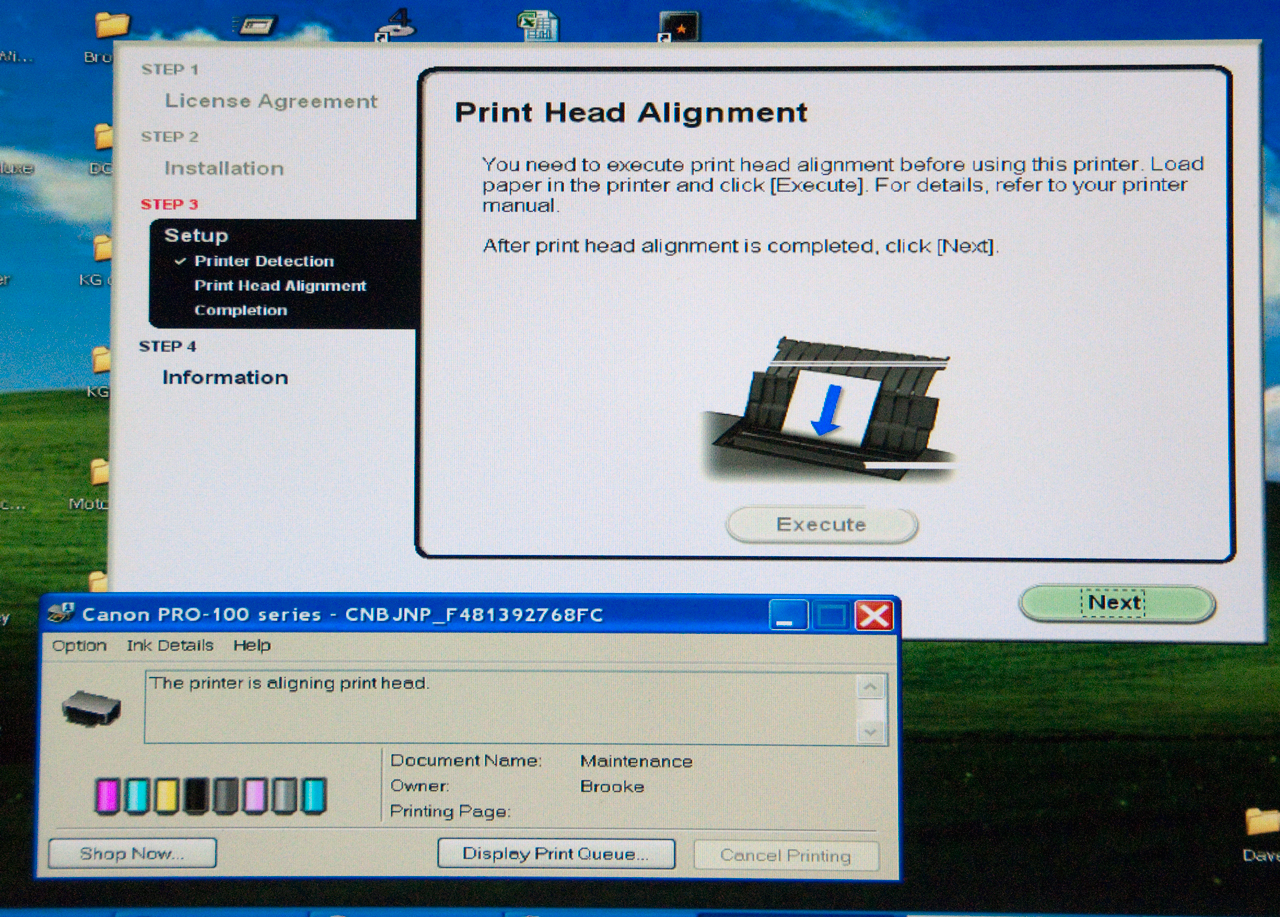
Fig 5 Screen Shot of installation software from CD-ROM
using a USB extension cable + regular USB cable
Fig 6 First Head Alignment page.
Note: there is no user judgement or pass/fail.
It's an automatic process.
Fig 7 Second Head Alignment page.
Note: there is no user judgement or pass/fail.
It's an automatic process.
Test 4x6 print.
Using the same .jpg file as was sent to a local photo finishing shop a 4x6 print was made.
The professional print has whiter whites, but the Canon print is very close.
Is there a way to set the printer parameters in Photoshop CS4?


Paper Handling
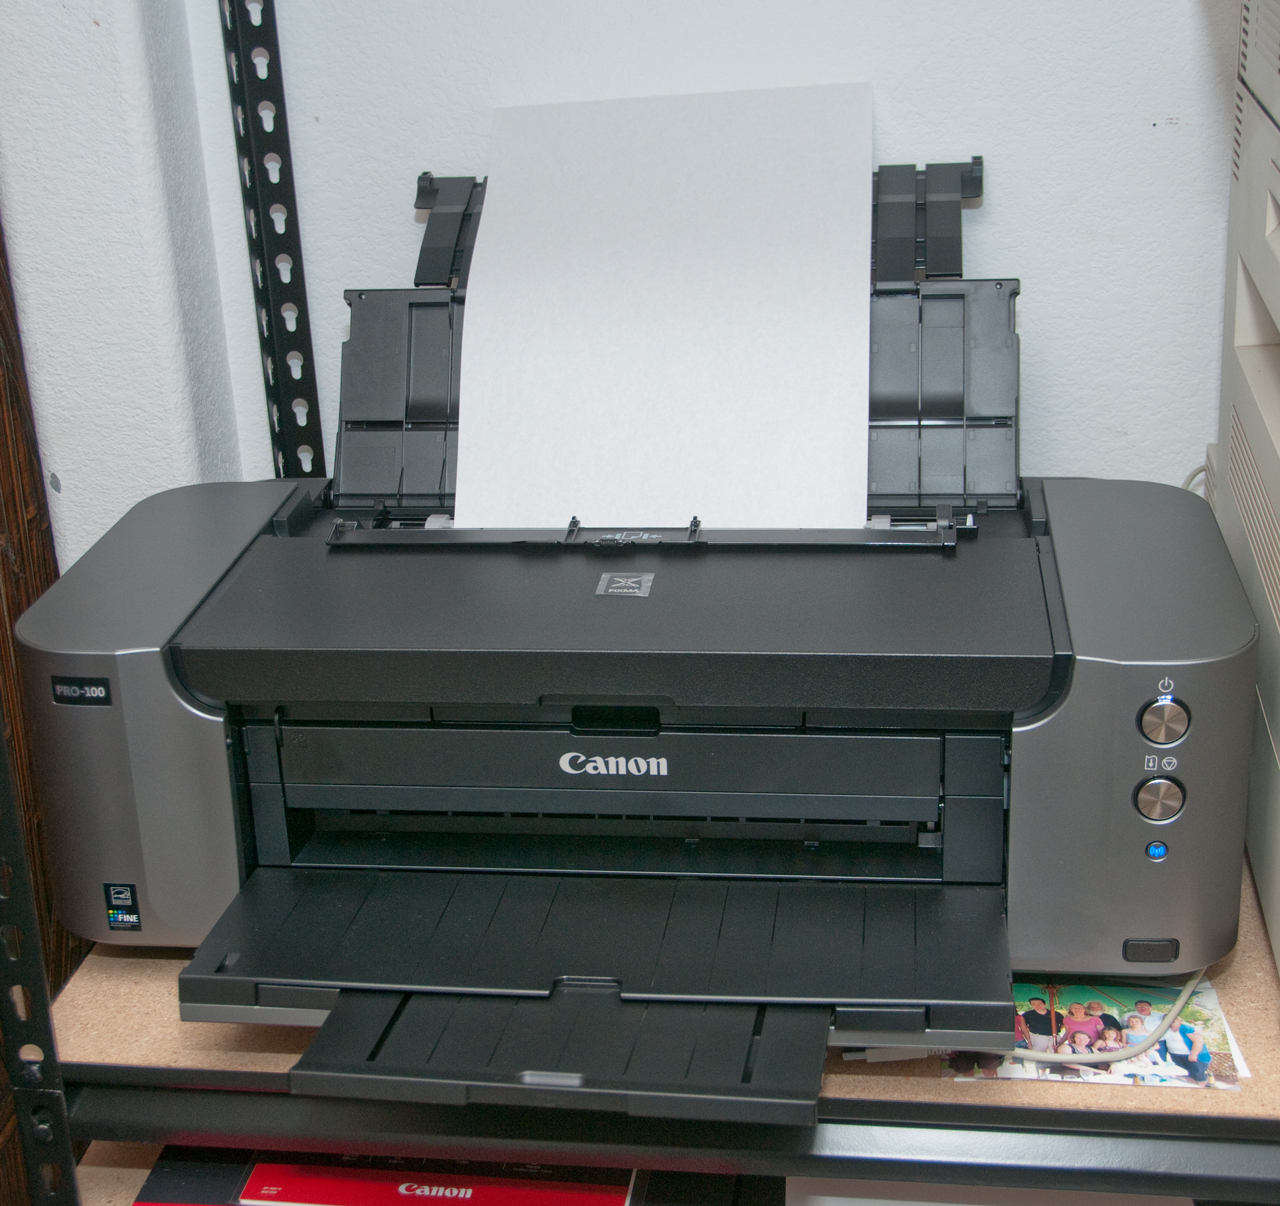
There are two locations to load paper that Canon calls the "Rear Tray" which I'll call the "Top Tray" and the "Manual Tray" which I"ll call the "Back Tray".
Notice paper is ALWAYS loaded in portrait position.
Demo using an 11 x 17 inch sheet of copy paper.
Rear Trayor
Top Tray
Manual Tray
or
Back Tray
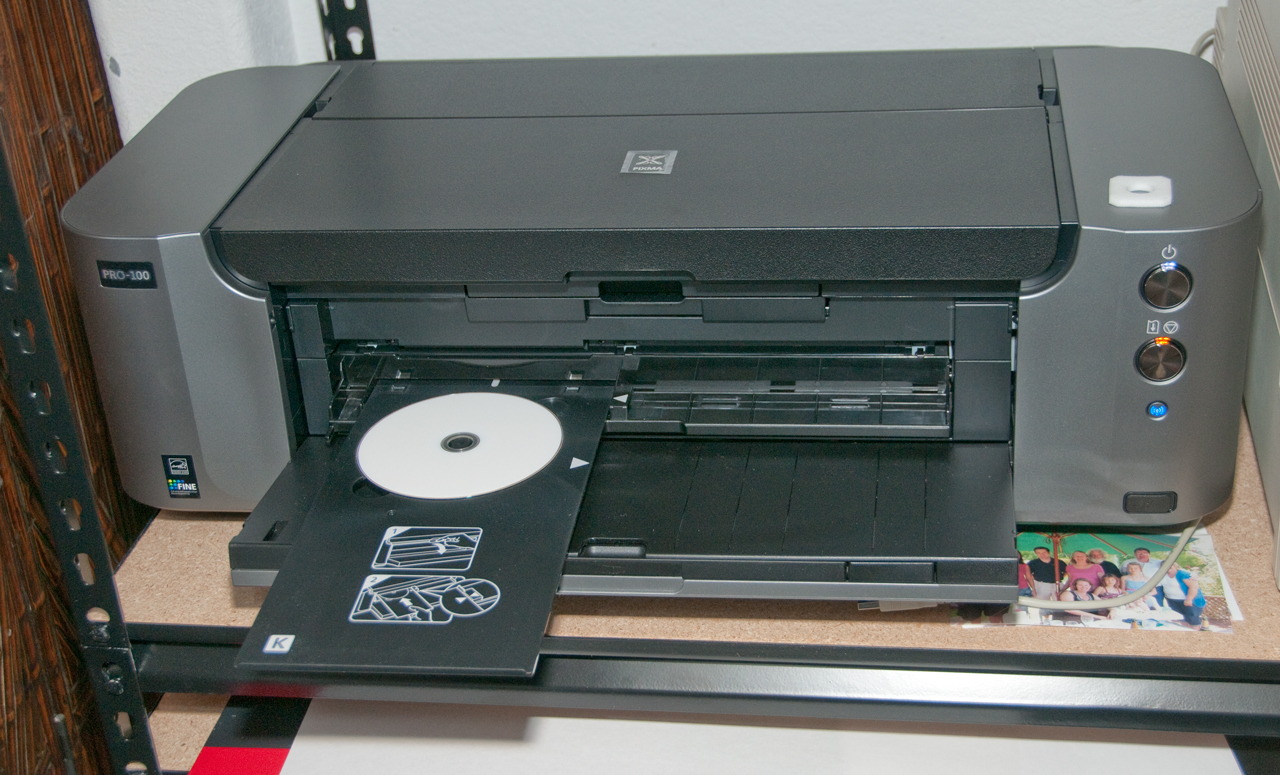
CD-ROM
DVD
Tray Storage
Ink Jet
DVD
Printing
To access the Top tray you open the top door then rotate up the hinged extension.
There is no high capacity paper storage like in the HP 4050N.

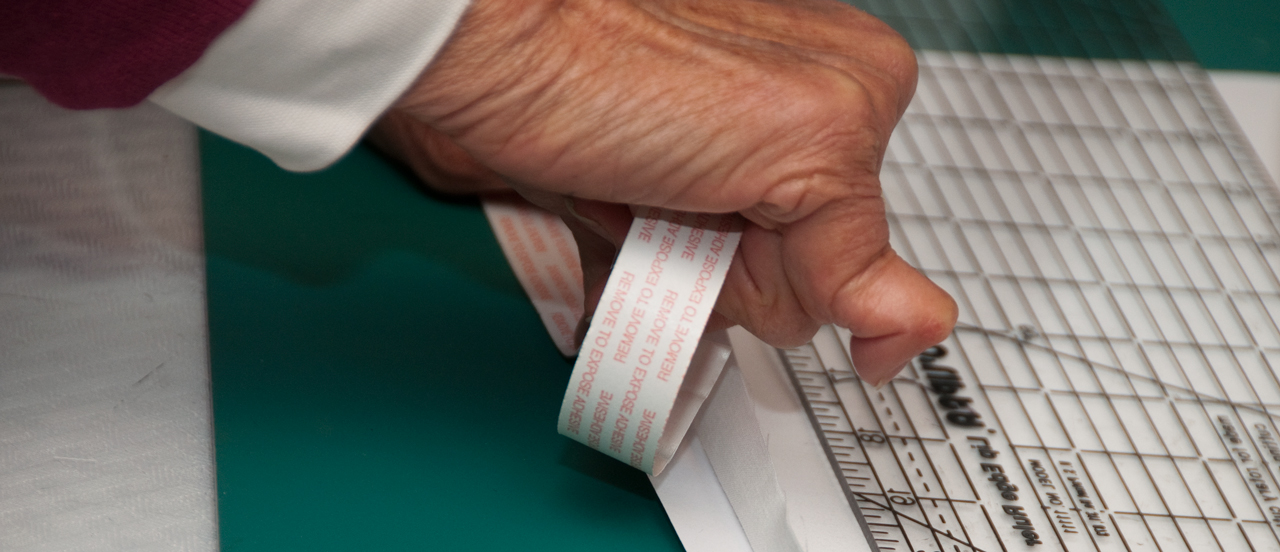
Printing on Fabric
The only printers that will work are those with a direct paper path, i.e. where the paper does make a "U" turn.
By applying a backing on fabric it's possible to feed it through the printer. But first there are some very necessary steps:
In Photoshop:
- Cut fabric/backing material to the size (or slightly larger) to be printed.
- Trim loose threads all around sheet to prevent them getting tangled in printer.
- Flatten by putting under a stack of books for a day or so.
- On the feed (a narrow edge) separate the fabric and backing and insert double sided tape as a stiffener.
- Do a test with plain paper to be sure you know which side prints. In the forward slot it prints on the side facing forward.
Even after all this the yield was about 50%. The problem is that the leaning corners don't stay flat and square so at the instant that the fabric/backing feeds it does not go in the slot and jams. Maybe more time under books after adding the stiffening tape would help? Or, a better way to stiffen the leading edge? Let me know what works
- Set the image size to 13" wide (if that's the size you are using) and in Page Setup select the A3 13 x 19 paper size.
- Be sure the image is in portrait orientation (even if the scene is landscape) because the paper is always inserted in portrait mode.
- If there's a warning about image size exceeding paper size in the print window set the magnification to something like 97% rather than 100%.
- Color management is a whole other topic, but there are many options after you select Print in Photoshop.
Dharma Trading Co. - Print on FabricJacquard Products (formerly: Rupert, Gibbon & Spider) -Inkjet Fabric Sheets and Transfer Paper
Related
DigitalPhotography101 Digital Photography 101: The Basics
Digital Photography 201 Stacking Images & HDR High Dynamic Range Photography
Digital Photography 202: Close-Up, Macro & Micro
Digital Photography 203: Color Management
Digital Photography 204: Studio Flash
Digital Photography 205: Astrophotography
Photography
Nikon
Calculagraph Henry Abbott's time or dollar ticket printers
Dow Jones Broad Sheet News Printer
HP LaserJet 4050N Printer - my main printer (on WiFi and wired LAN)
Monopulse Teletype Monopulse Printer
Western Union 5A Stock Ticker
My favorite HP 6200 flat bed scanner died and there's no flat bed scanner that comes close to replacing it.
The two key features it had were a depth of focus of about an inch and the ability to adjust both ends of the exposure histogram BEFORE making outputting the scan data.
I've replaced it with a Xerox 7600 with is OK, but has neither of the desired features.
Links
Back to Brooke's: PRC68, Products for Sale, Alphanumeric index of web pages
Page created 9 Jan 2014